Coffee with Cutlass: A Peek Inside Disc Brake Diagnostics
Forward:
Modern bicycle tech has brought new possibilities (and challenges) to cyclists and professional mechanics.
One of the biggest changes in component specs in the last ~10-12 years to road, gravel, and cyclocross bikes is the switch from rim brakes to disc brakes as a standard feature.
Disc brakes have long been a common sight on mountain bikes using either IS (International Standard) or Post Mount configurations that typically offers a more simple and adjustable caliper set up.
When disc brakes were first introduced to drop bar bikes and hybrids they adopted what was already in use: Post Mount and IS mounting points.
In 2015 Shimano introduced the flat mount standard as a lighter and cleaner option that tucks the caliper into the junction at the seat and chainstay. It can be mounted with or without an adapter depending on the rotor size. The front caliper requires a 140/160 directional adapter for most forks on the market.
The challenges that the flat mount standard present are related to frame QC and the methods of achieving as near to perfect a set up as possible. In this series I will be presenting scenarios that cross my bench from either brand new frame-up builds to issues that present themselves during the mechanical evaluation.
Not all frames and not all brake calipers are manufactured equally. I invite you to follow along in my efforts to dive into a macro view of componentry set up and diagnostics.
Recently, I was performing a mechanical evaluation on a Seven Evergreen SL. When the client dropped off the bike, they remarked that the front and rear pads were replaced at different points in 2024. The rear pads were replaced more recently and were immediately noisy. Let’s take a look at the pads.


The front pads (left) look relatively normal.
I’m not loving the contact between the rear pads (right) and respective rotor.
Let’s take a deeper look at the rear pads and the rotor.


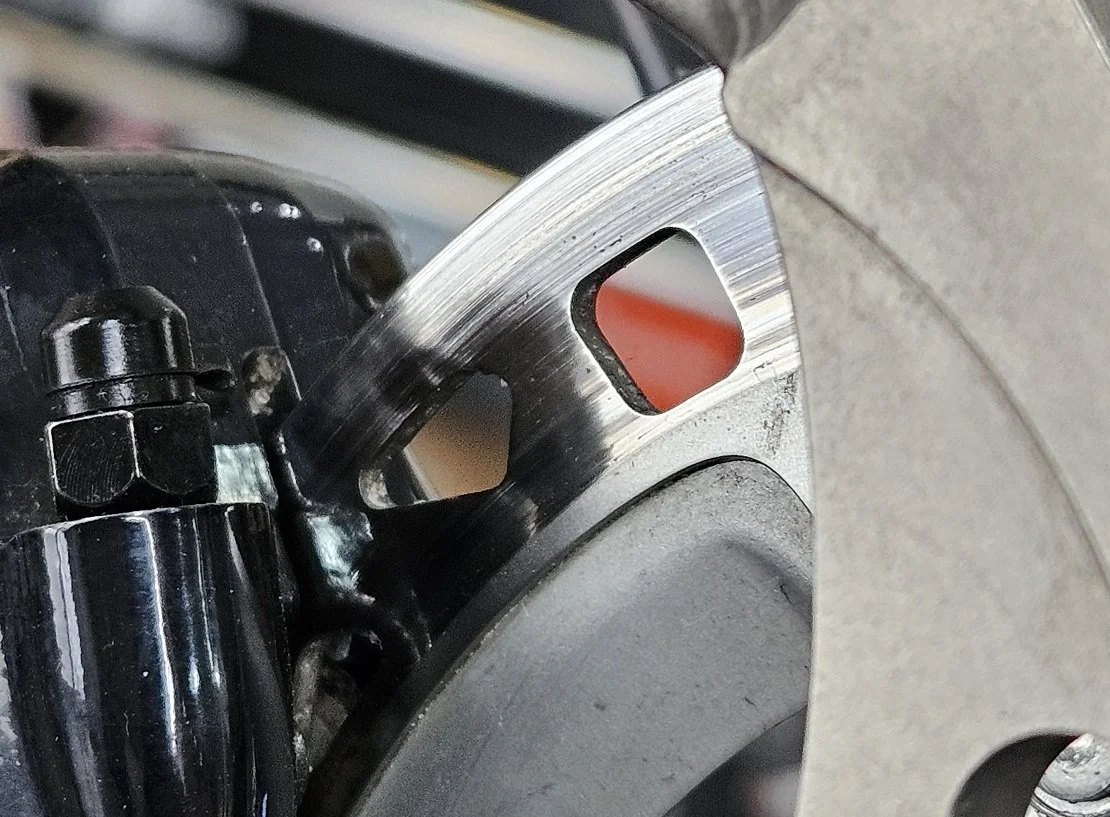
The three photos above show my examination of the rear pads and a photo of the rear rotor in situ.


Resurfacing and bedding the front pads (left photo) didn’t resolve the issue. You can see where the pad contacted the rotor; they also began to glaze.
Fresh pads on a cleaned rotor (right photo) isn’t making very much contact either; and they’re still squealing. You can see by the lack of central pad contact that the rotor has concave wear; the previous organic pads had worn to that wear pattern.
My solution for this scenario is replacing both sets of pads and both rotors.
Don’t get me wrong- I try to revive pads and rotors at every opportunity that I can but there’s only so much time that can be dedicated. New pads sometimes don’t bed into an old rotor.
In this case, a hard reset is the most cost effective and correct solution.
Before adjusting the front caliper with the new pads and rotor, we need to correct a few issues discovered during the evaluation.
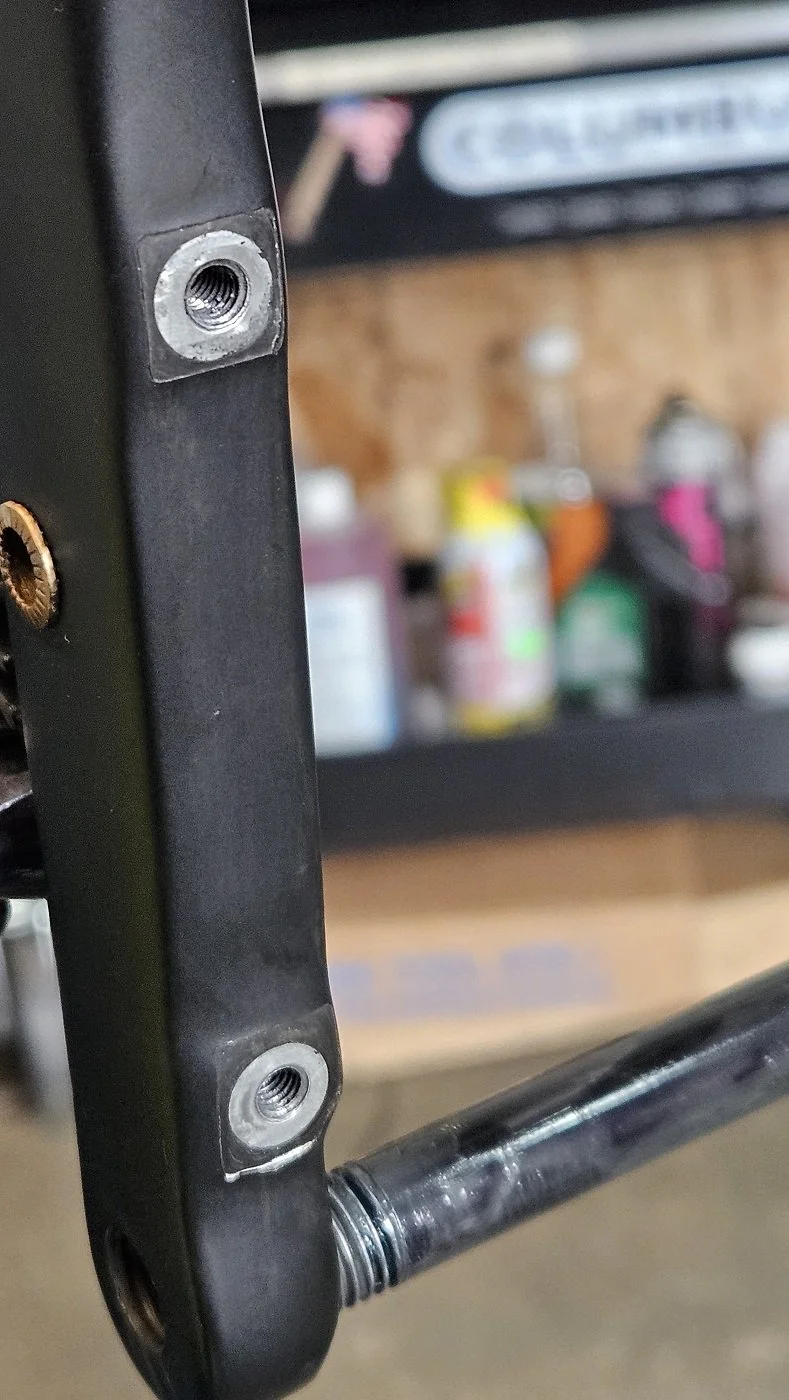


The Var facing tool does a great job cleaning up and correcting brake mount interfaces. It handles ISO, Post Mount and Flat Mount standards. It is easy to adjust and all parts are replaceable. For US-based shops be sure to reach out to Wayne Bingham of Mel Pinto Imports- Wayne is the Var Tool importer and distributor.
After completing the rest of the bike’s overhaul it was time for the initial test ride.
Bedding in proved successful; the new pads and rotors are operating quietly, predictably, and feel fantastic.
I look forward to seeing how things have worn in on the bike’s follow up service.
This information is an effort to share what goes on during one diagnosis and repair situation. Situations and solutions vary but the end goal at Cutlass is always the same: work towards the solution.
I’ll be continuing this series regarding brakes, as well as other noteworthy items that come across my bench.
During this writing, I enjoyed a cup or two of Counter Culture’s Apollo.
These will soon be going out to my mailing list- I invite you to sign up below.